Instant Precision Dutch Oven Guide: A Beginner's Guide
Learn how to use your Instant Precision Dutch oven with my step-by-step instructions and pictures. Find out all about each function, and what you should know about taking care of your new enameled cast iron pot. I'll walk you through where to start, and what to expect as you start using your new Instant Dutch oven.
What is an Instant Dutch Oven?
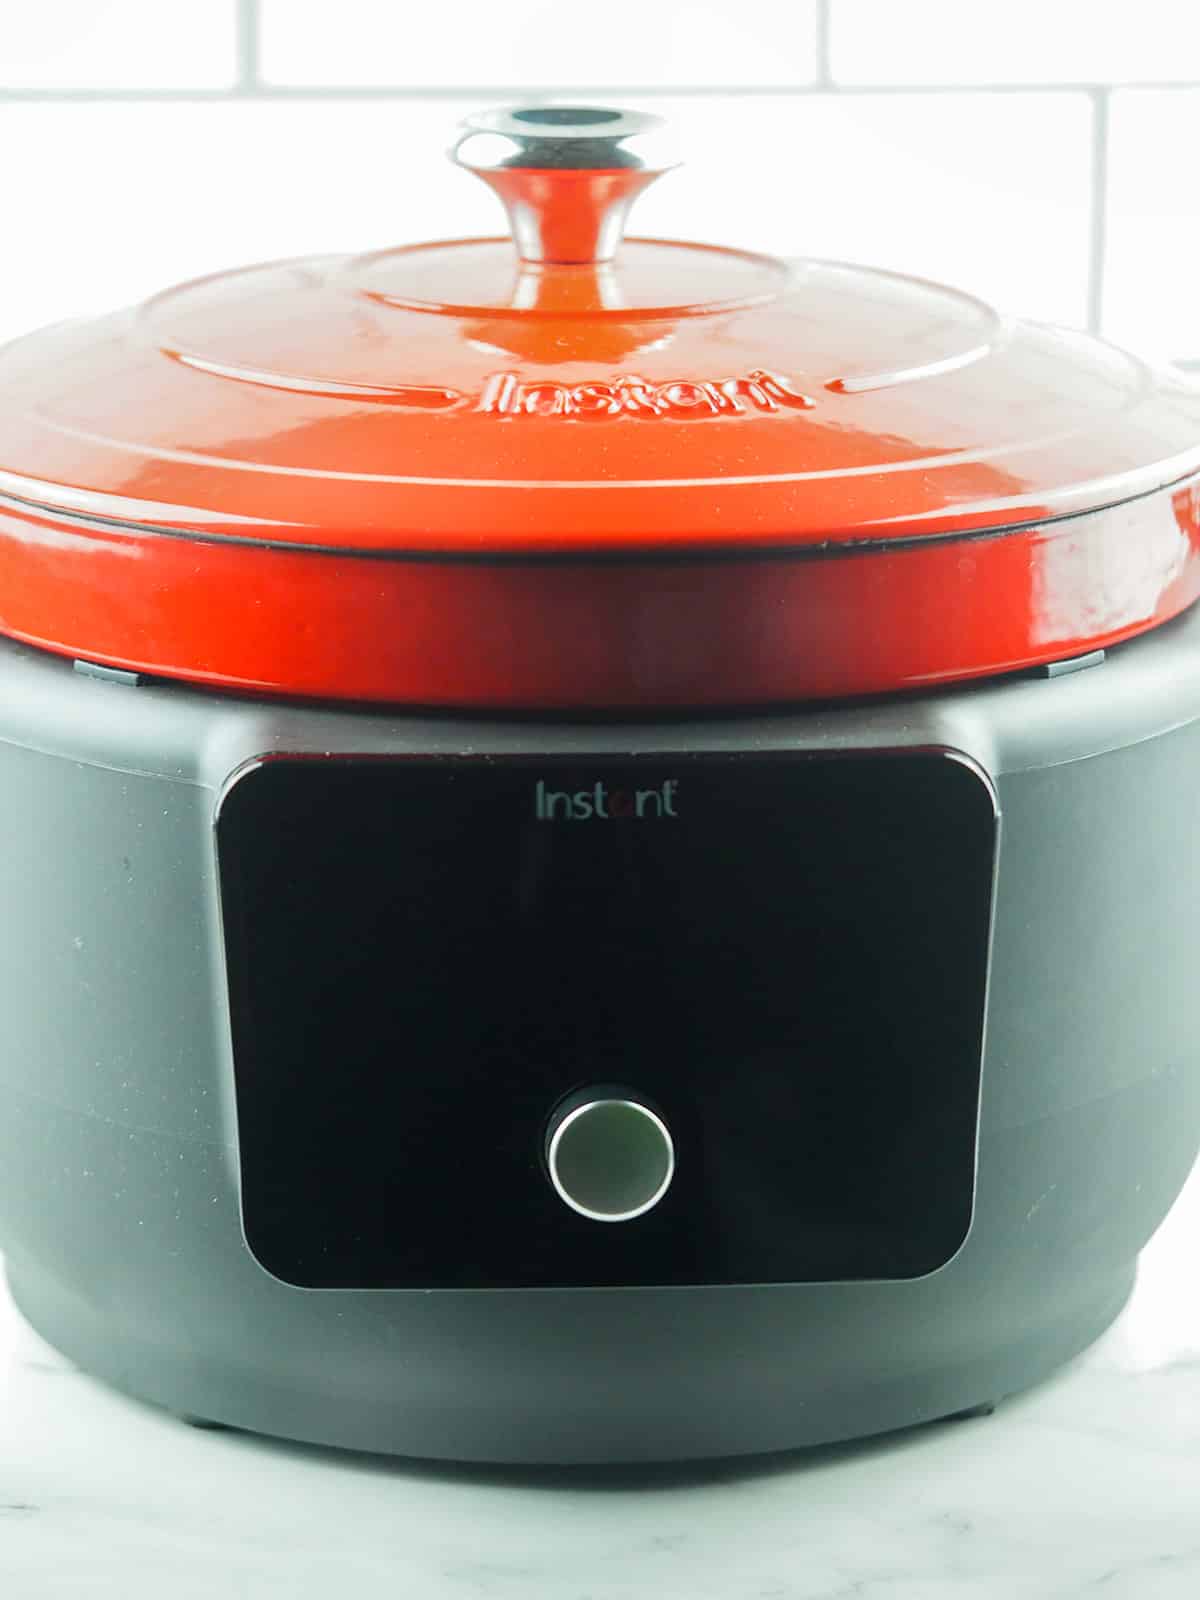
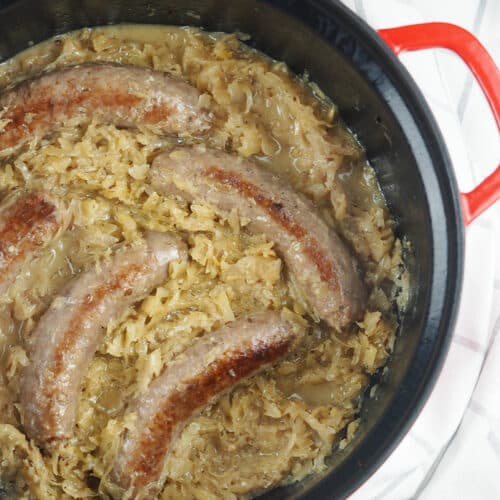
The Instant Dutch Oven is a 5-in-1 electric multi-cooker with a high-quality enameled cast iron insert. The functions are sear/saute, braise, slow cook, manual mode, and keep warm. It cooks using a direct heat source on the bottom of the appliance in the cooker base.
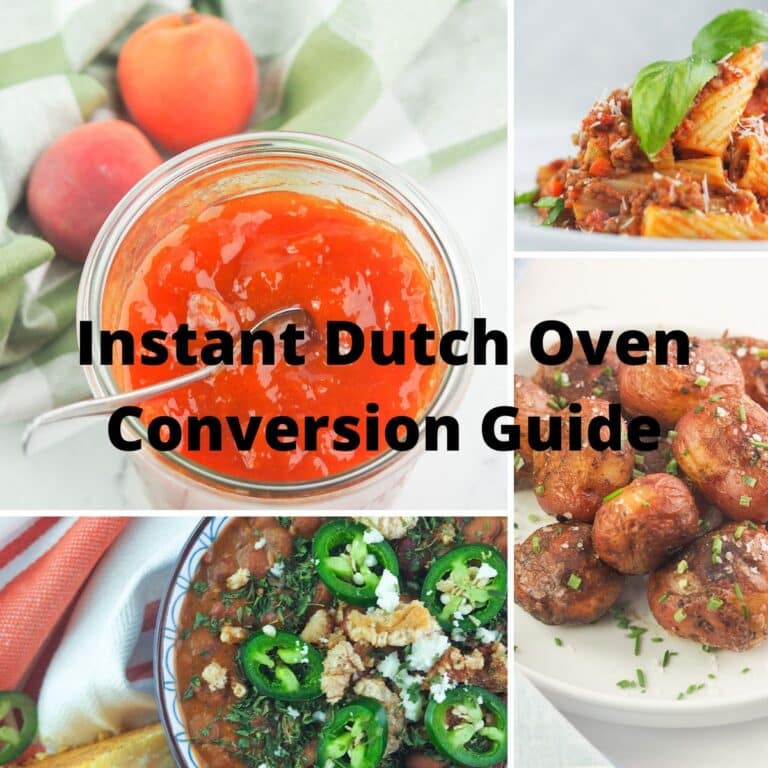
One of the great things about this is that you can also use it on the stove, and go from the cooker base directly to the table or transfer it to the oven to bake bread. Be sure to check out my Instant Dutch Oven Conversion Guide next.
The enameled cast iron insert can be used to cook in the cooker base, the stove, and the oven. It currently comes in three colors: red, blue, green, and black. At the moment it is only available in a 6-quart size. The price point for this is about $149 USD on sale up to the regular price of about $229 USD.
What's in the box
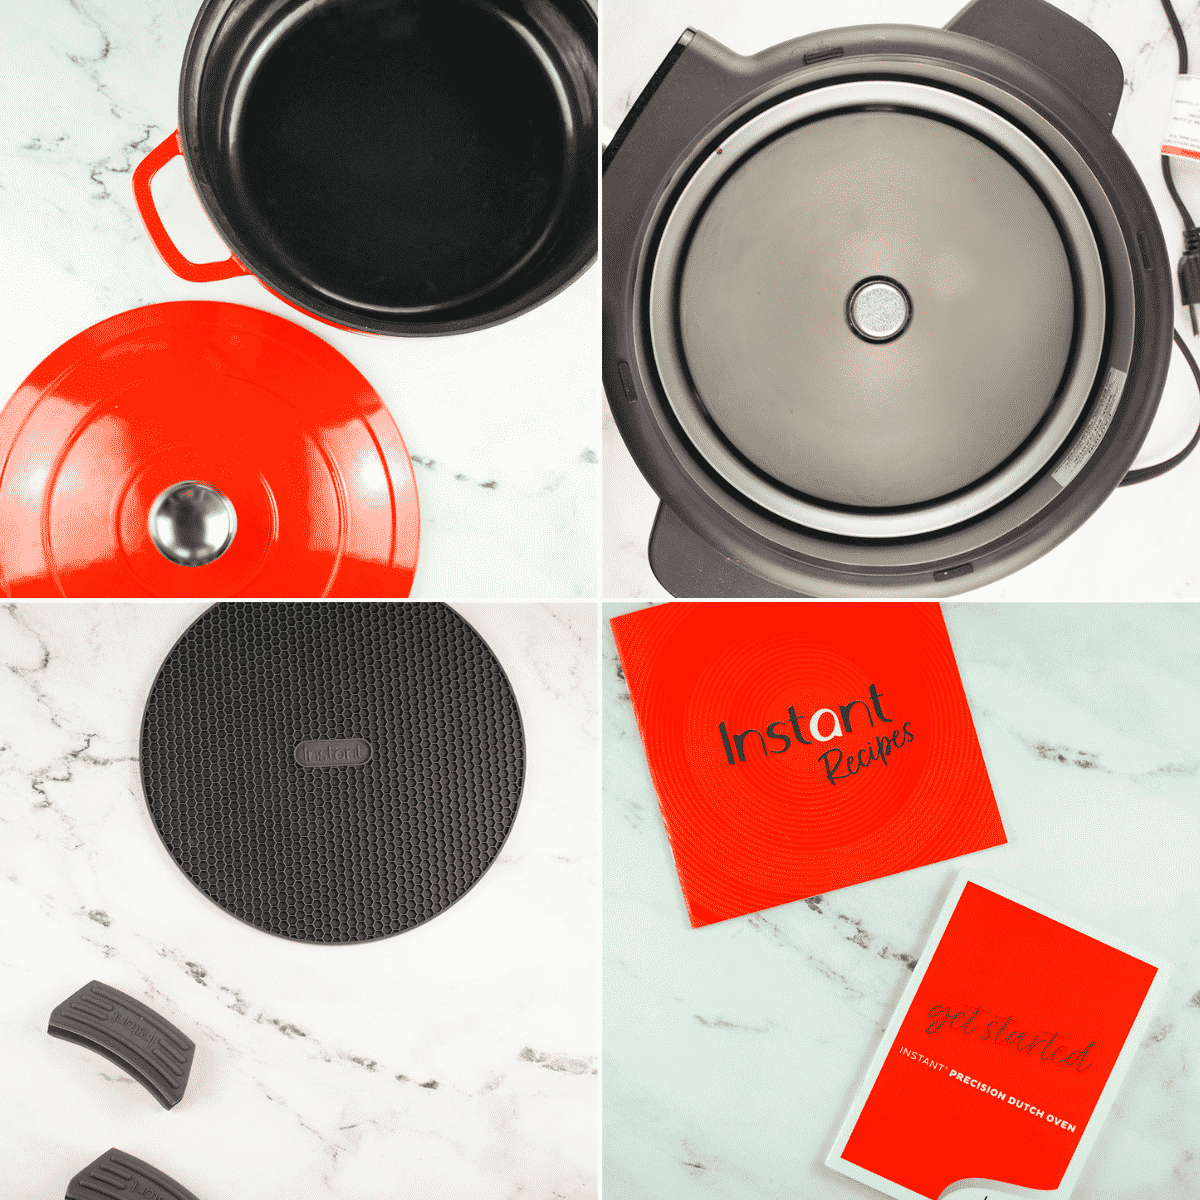
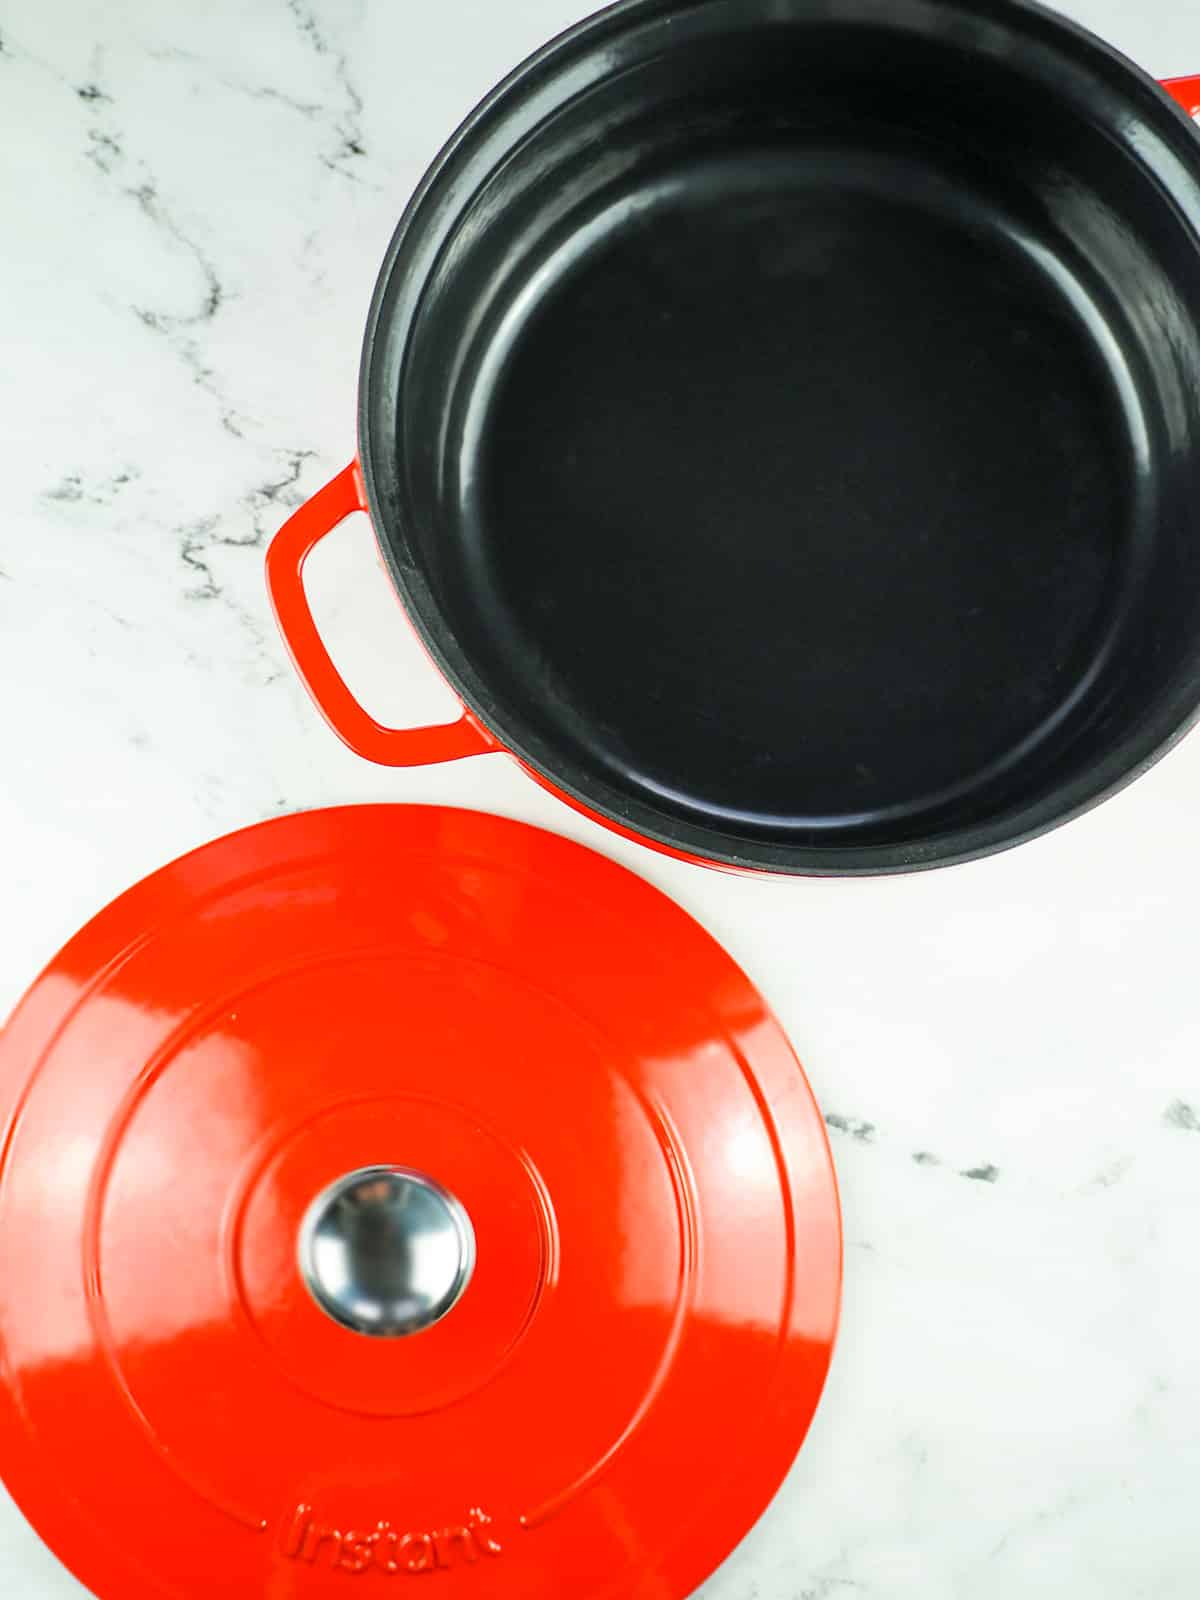
- Dutch oven - a 6-quart enameled Dutch oven with lid. It is dishwasher safe but just like with all enameled cast iron it's best to hand wash to prevent discoloration of the enamelware over time.
- Cooker base - this is where the magic happens. The cooking base should be hand washed only, and never submerged into water.
- Silicone handle covers - slide over the cast iron handles so you can safely remove your pot from the cooker base.
- Silicone protective pad - large round silicone pad to protect your counter tops and tables from the hot cast iron of the pan once you are done cooking.
- Guides and booklets - just like with your other Instant products this comes with a getting started guide, a safety and maintenance guide, and a small recipe booklet to get your started.
Be sure when you get your new Dutch oven that you wash the cast iron pot and lid in warm soapy water before you use it. Also be sure to check out my accessories guide.
The control panel & functions explained
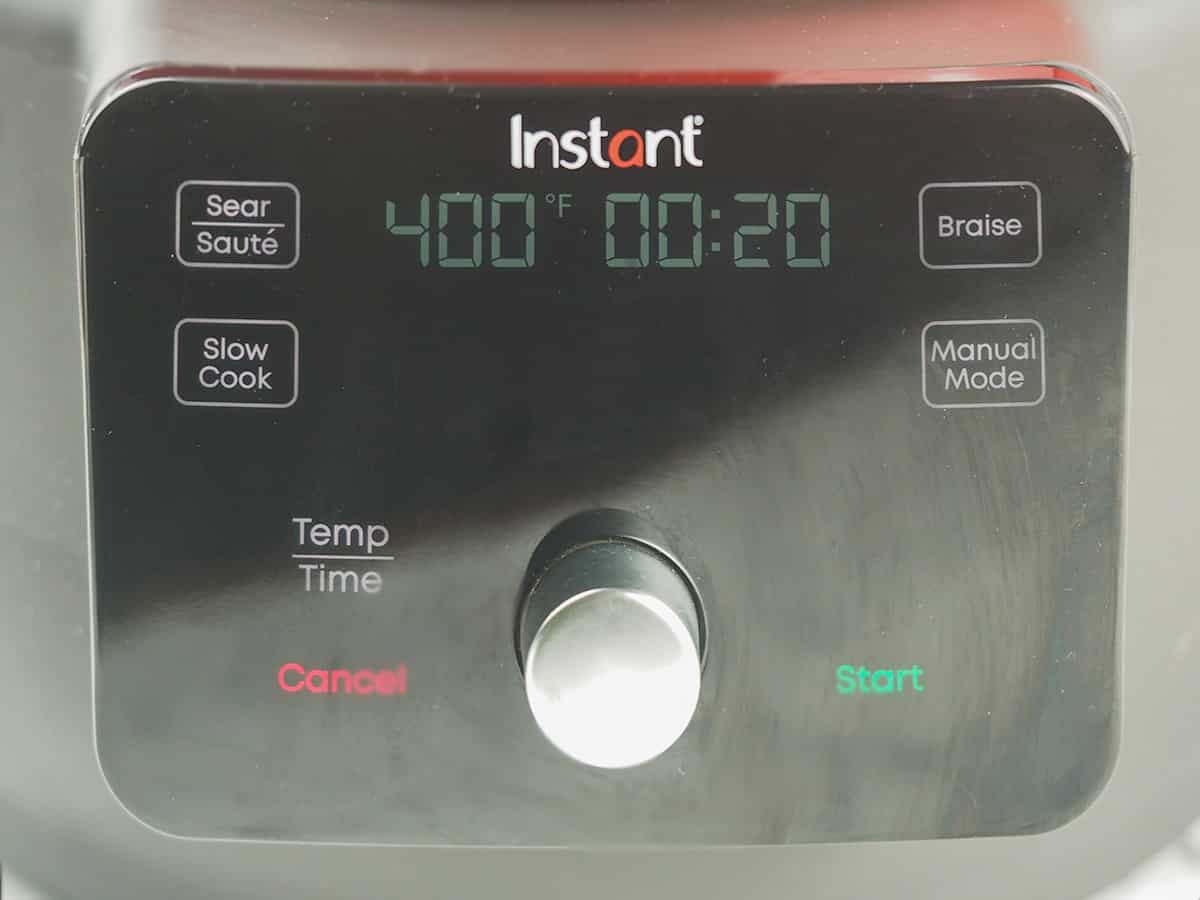
On the control panel above you can see the time display in the middle. There is a message bar just like on some Instant Pot models that will tell you when the function is warming up, cooking, and warming after it's done cooking. The large dial is to adjust time and temperature. It will alert you through sound and a message on the display when it's ready for your to add your food.
The sear/saute function is located at the top left of the display. It is not adjustable and heats to 400 degrees. This is very hot and since cast iron retains its heat very well you may find it necessary to cancel the function to prevent burning your food. It can be toggled off and on very quickly. It works very quickly and produces a superior sear for your meats.
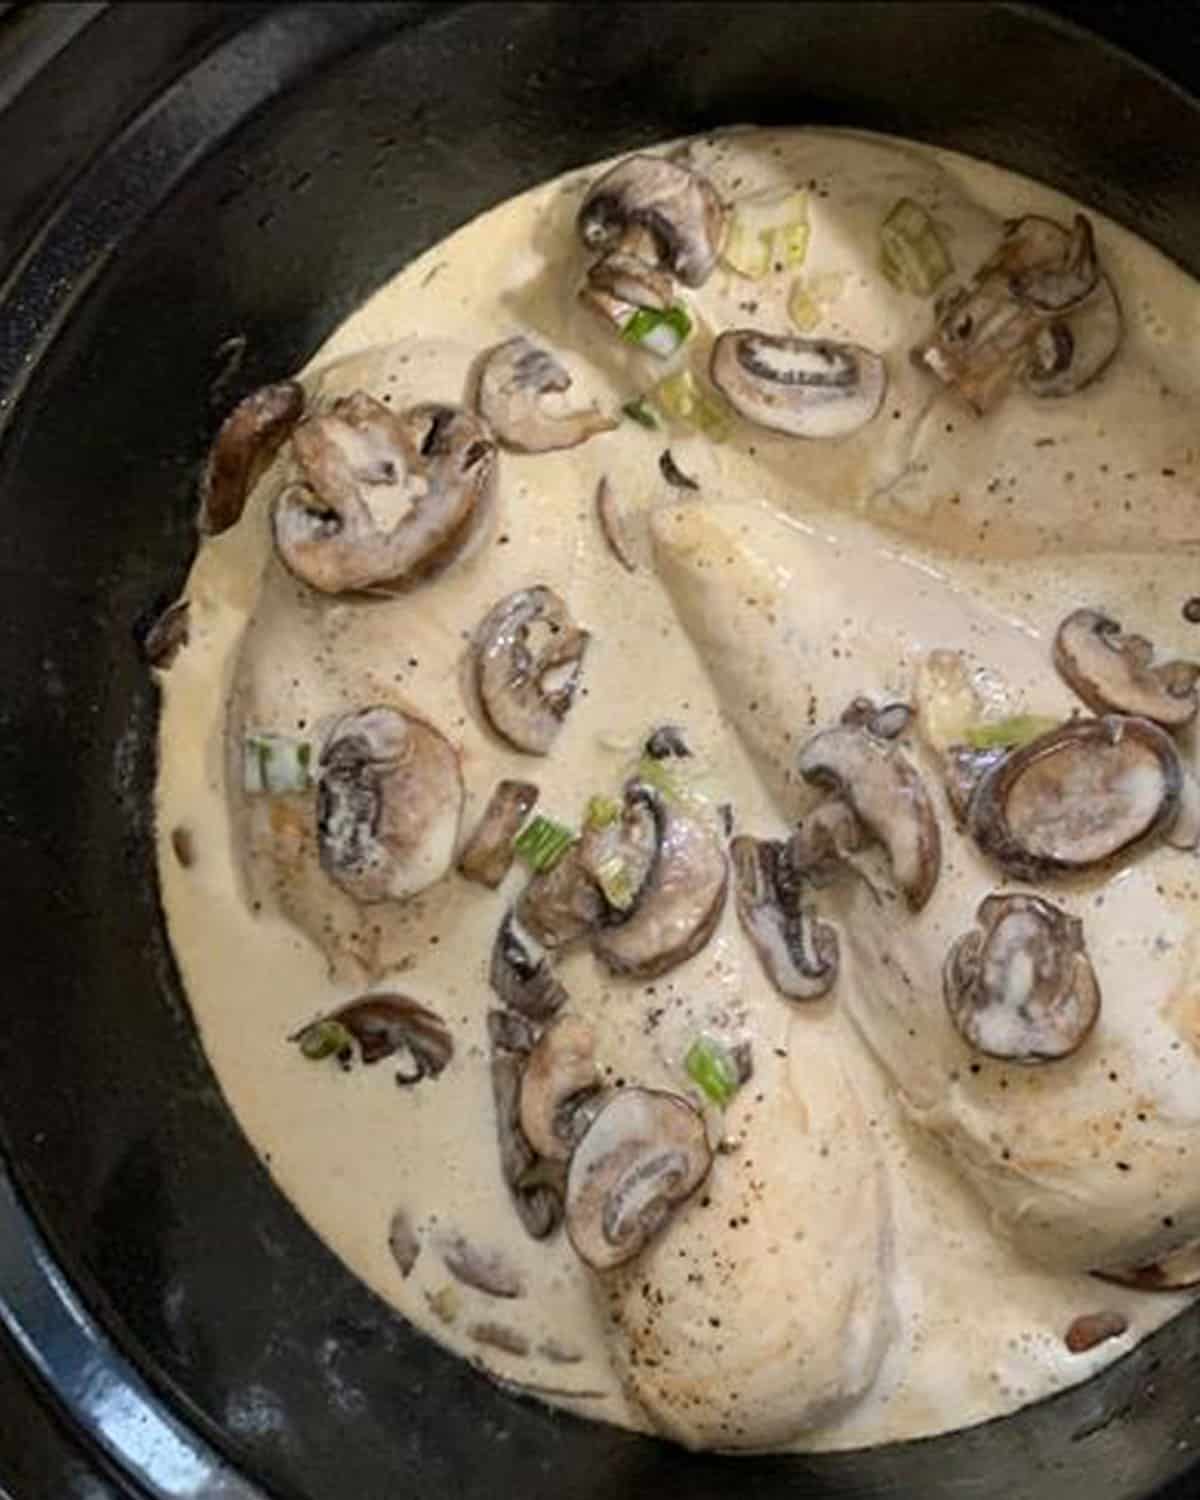
The slow cook function is located at the bottom left of the time display. This function has a cooking temperature of 203 degrees Fahrenheit. Slow cooking on this device is suitable for long periods of cooking. It is comparable to the high setting on a traditional slow cooker. The heat source is on the bottom, so be sure to layer your ingredients from large to small as much as possible.
Times vary for recipes so be sure to get to know your unit well and how it behaves on the slow cook function. Smaller cuts of meat like chicken breasts have taken me 3-4 hours to cook. Large roasts typically have taken me 8-10 hours.
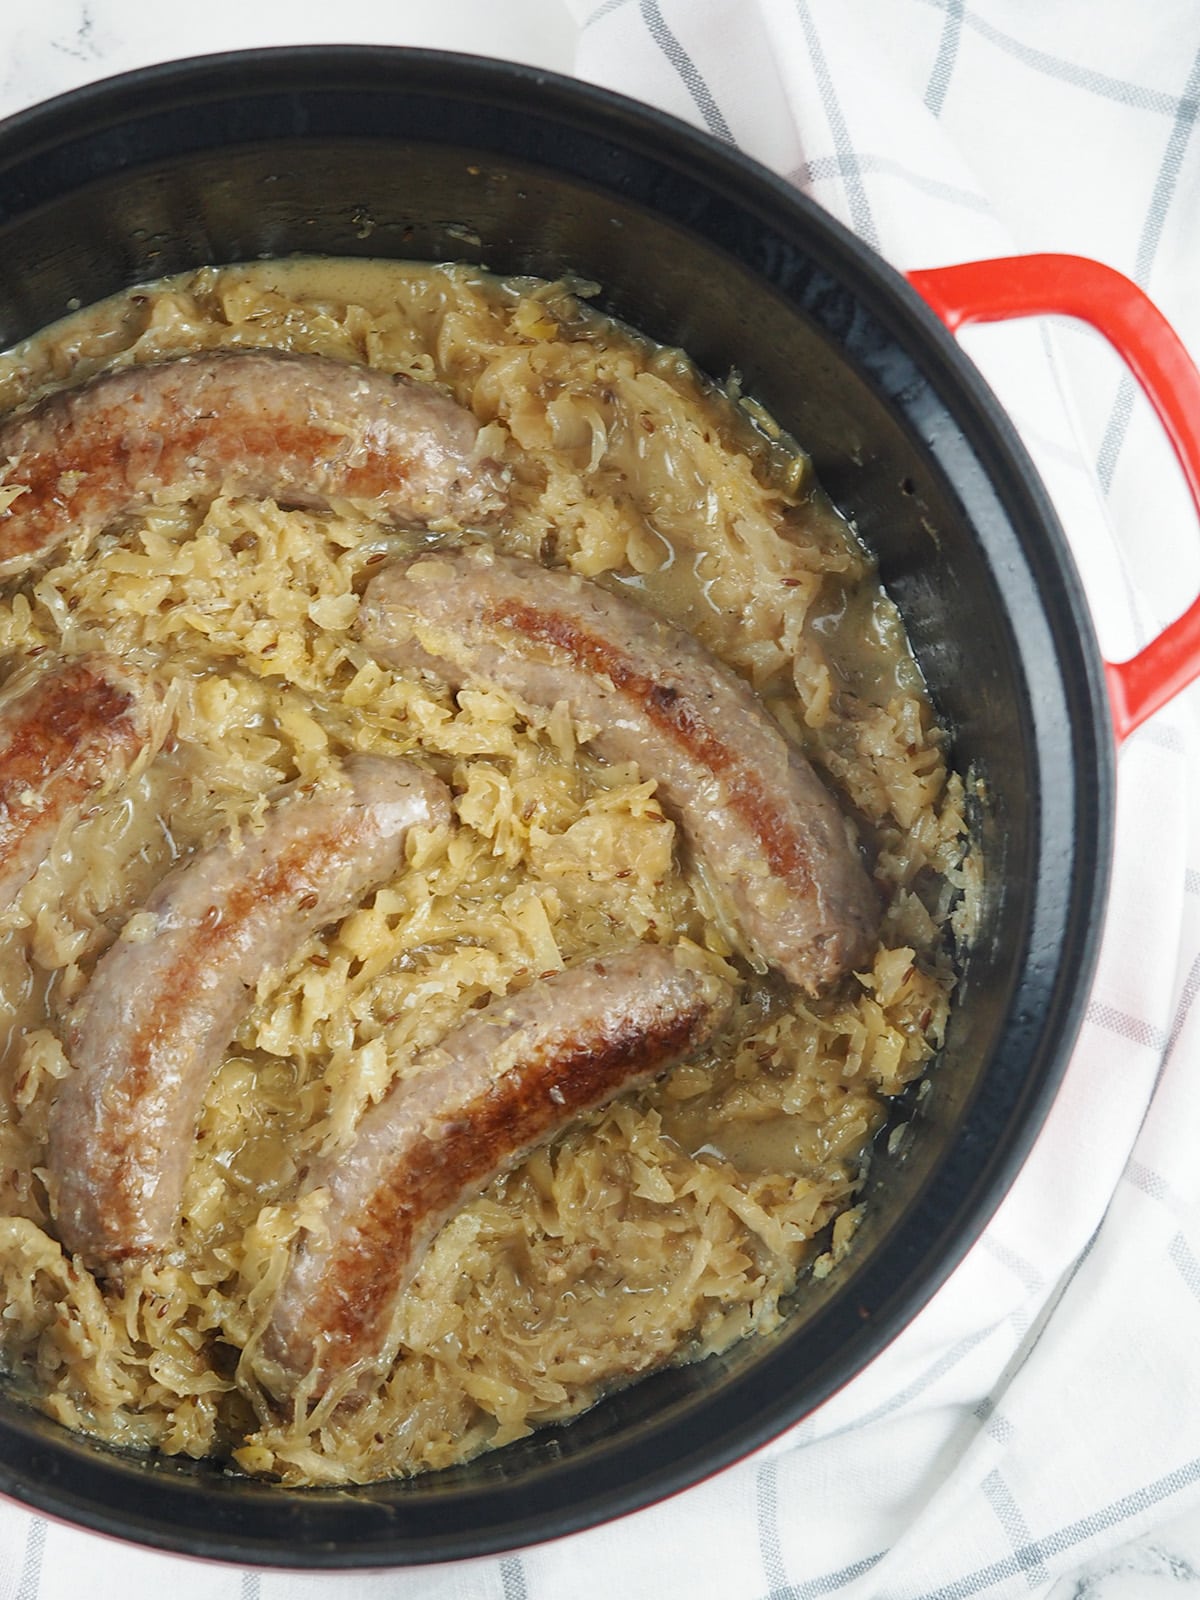
The braise function is at the top right of the display. Braising is basically cooking a tougher cut of meat in liquid gently until it is super tender. The default time is two hours. The minimum time is one hour and the maximum time is three hours.
The manual mode is at the bottom left of the time/temp display. There are two manual modes. Push or toggle the Manual Mode button to switch between 1 and 2.
Manual mode 1 goes up to 203 degrees and can be used for up to 12 hours. Manual mode 2 gets very hot going up to as high as 400 degrees with a max cook time of 3 hours. Food can burn on manual mode 2, and should be monitored.
The keep warm function is intended to keep food that you have already cooked warm until you are ready to eat.
The Start button like most Instant Home products starts your chosen function to start cooking any of the programs you've selected.
The Temp/Time is how you will adjust the temperature and length of time of the cook. This can be changed mid-cook cycle if you find the temperature is too high or too low. No need to press cancel and start over.
Cleaning and care
Enameled cast iron does not require any seasoning like traditional non-coated cast iron. Enameled cast iron is great for cooking foods that have a high acidity like tomato-based dishes. The enamel coating is slick and resistant to food sticking to it. A high-quality pot with the proper care will last for years.
While you can put your enameled cast iron pot and lid in the dishwasher it is recommended that you hand wash in hot soapy water. The dishwasher may make the coating fade over time.
Since the enamel coating on your Instant Dutch oven is a glass-like coating that is fired onto the pot you will want to be careful not to scratch or dent the coating. Use wooden, plastic, or silicone utensils when cooking to prevent scratches and dents. If you are using metal utensils then avoid striking or scraping hard on the surface of the pot.
The best way to clean your Instant Dutch oven if food is stuck on is with boiling water and a wooden scraper to remove food and residue. If there is staining on the coating then you can also clean with boiling hot water, soap, and two tablespoons of baking soda after a 15-minute soak. First bring the water to a boil, and then remove from the heat. Add the soap and baking soda then allow it to soak prior to cleaning.
FAQs
A Dutch oven is a versatile coated cast iron pot that is commonly used for slow cooking, braising, roasting, and soup making. A high pressure cooker cooks food using high-pressure steam in a moist environment.
A Dutch oven is an essential heavy pot that is essential for cooking large cuts of meats, braises, stews, and chili.
Yes, a Dutch oven can be used in the oven and stovetop.
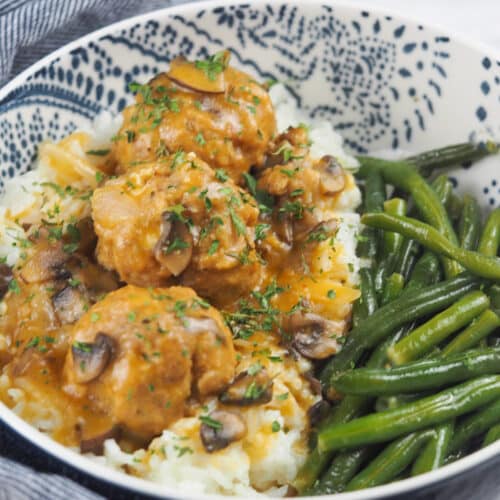
More Instant Dutch Oven recipes
Be sure to sign up for our email list, or follow us on Pinterest, Facebook, or Instagram! Be sure to join our Facebook group to share all your great pics of your new dishes!

How do you steam vegetables in the instant Dutch oven?
I would buy a silicone steamer basket that fits, and then add some water to the bottom of the pot. I would use saute, and cover until steamed to the point I like the vegetables.