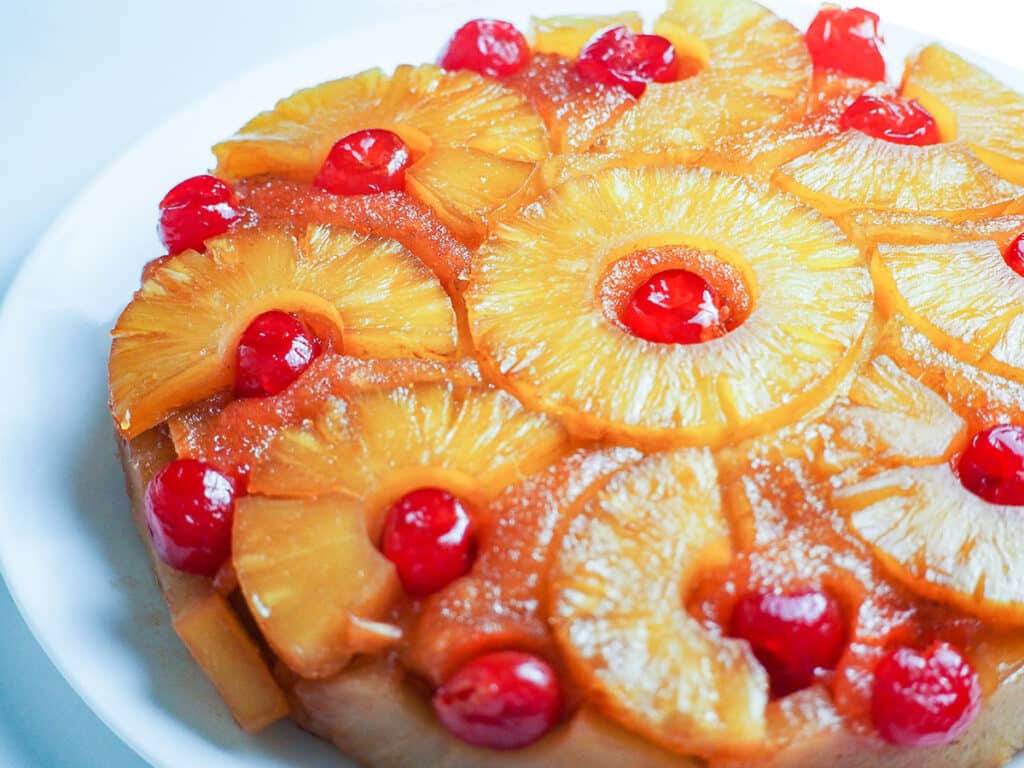
Instant Pot Pineapple Upside Down Cake

I was in the mood for a Pineapple Upside Down Cake this weekend, but didn't want to heat up the house to make one! Summer heat has arrived, so I pulled out my Instant Pot to convert my recipe to cook it in an alternative way to keep the house cool. 🙂 This cake has a delightful flavor and is made from scratch with ingredients easily found in your pantry. I also thought it was a great dessert to follow up my Instant Pot Sirloin Beef Tips with Mushroom Gravy dinner!
What is an upside down cake?
Upside down cakes date back as far as the Middle Ages, and can feature many different kinds of fruit toppings. In the early 20th century James Dole started the Hawaiian Pineapple Company which we know today as Dole Company. Around 1925, the company held a contest asking for recipes that featured...I bet you can guess...pineapple! Around 2,500 of the entries were pineapple upside down cakes. These cakes were typically made in cast iron pans which made it easier to flip them when done because the skillets had handles. Just like that the cake took off in popularity, and continues to be a classic dessert still served in homes today. To continue reading more head over to What's Cooking America.
Prep the pineapple upside down cake topping
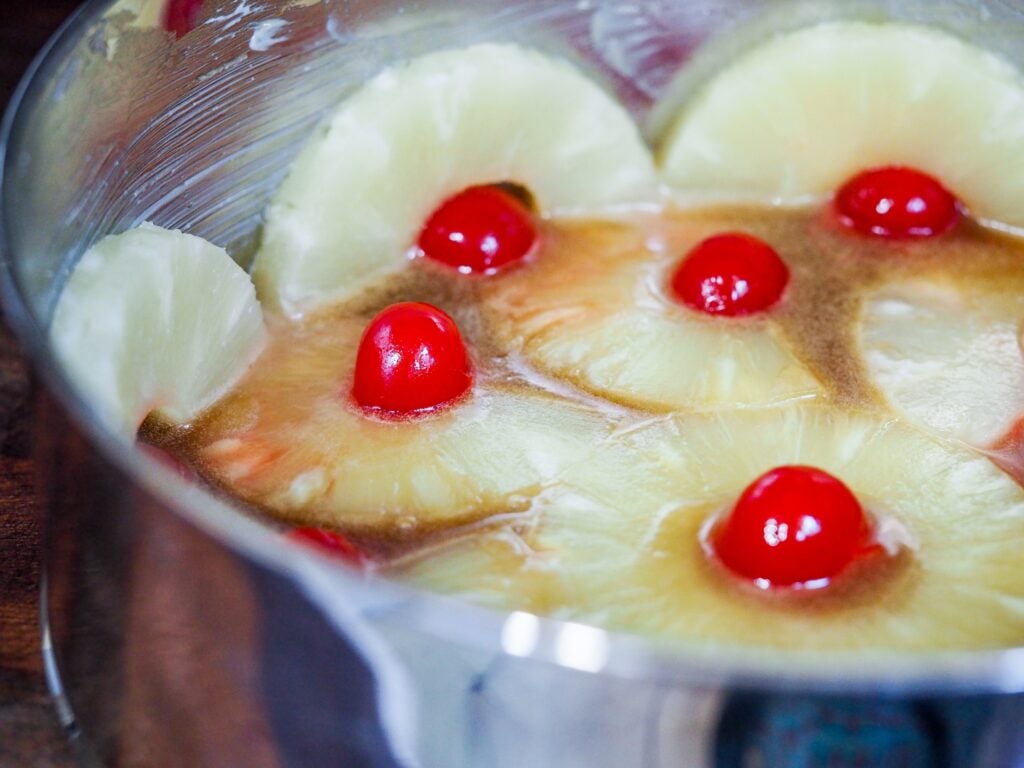
Melt three tablespoons of the butter, and combine with the brown sugar. Meanwhile, butter the sides of your pan. I used my large PIP for this recipe. A smaller pan will not work well, and would increase the cooking time dramatically. Plus, you want a pan with more surface area to cook this cake in. Pour the brown sugar mixture into the pan.
Place a whole slice of pineapple in the center of the pan, and then arrange half slices around it. Add a half slice of pineapple along the side of the pan. Place a whole cherry into the center of each slice or half slice of pineapple.
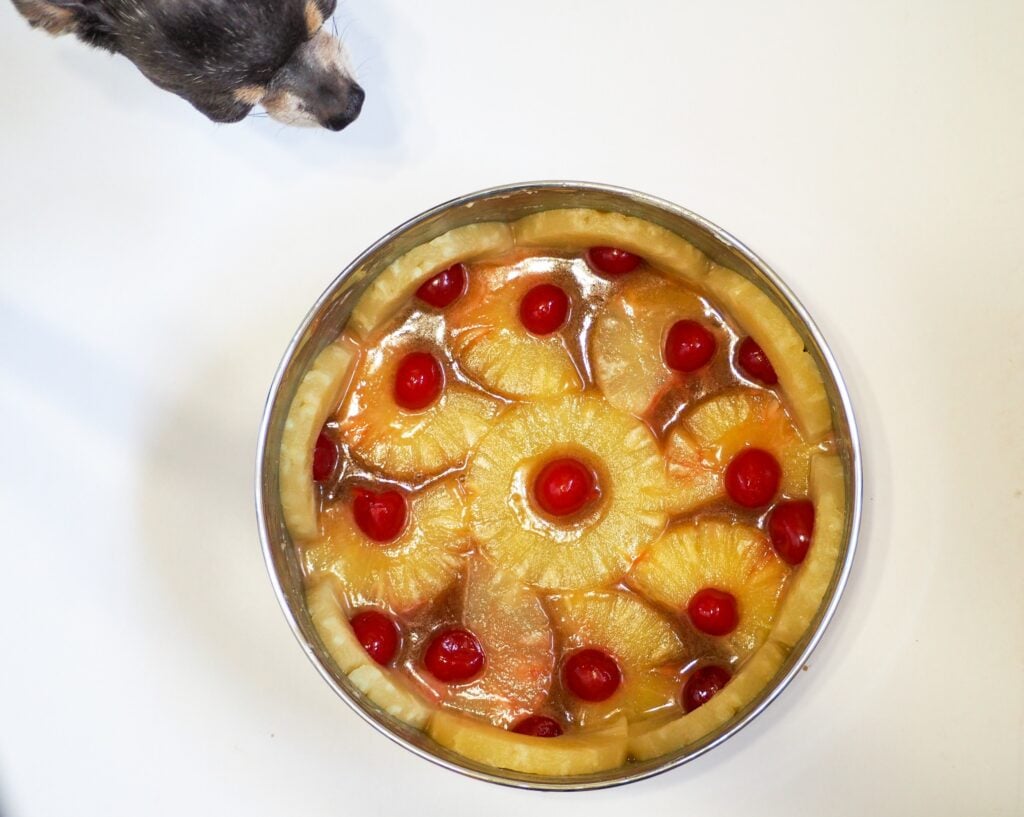
When you are done arranging your slices, it should look something like the below. Minus the very cute little dog looking to score a sweet treat! LOL She was all like - Mom, can't I have just a quick taste? It looks sooooo good!
Prep the cake batter for pineapple upside down cake
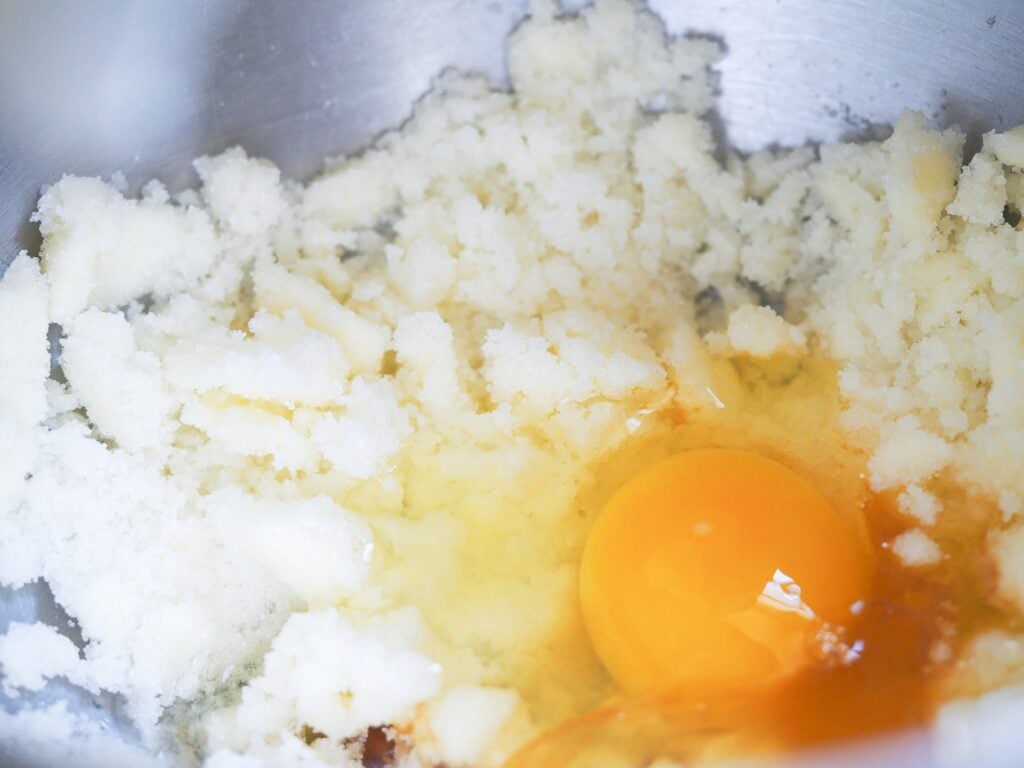
Cream together ¼ cup of softened unsalted butter and the sugar. Add to this the egg and vanilla. Add to this the flour, baking powder, and salt. Finally, add the milk to the mixture.
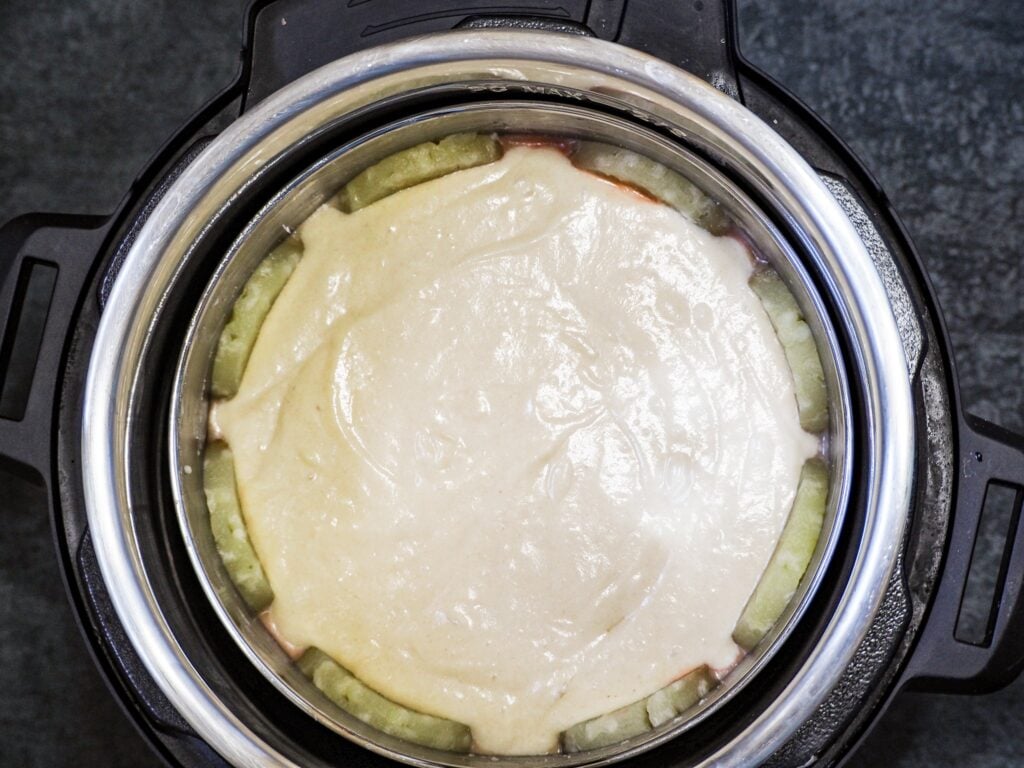
Pour the batter into the pan, and gently spread evenly in the pan so as not to disturb your pretty arrangement of pineapple slices.
Baking the pineapple upside down cake
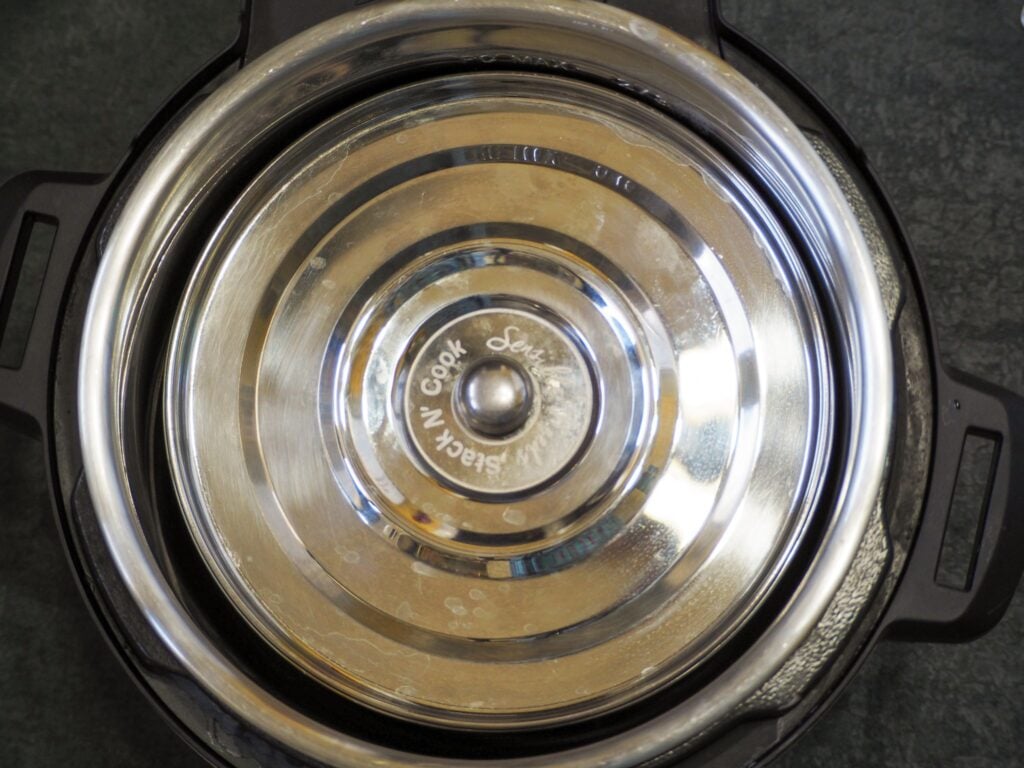
Place the rack in the Instant Pot with the arms down. Add one cup of water in the pressure cooker. Place the cake in the pressure cooker. Cover with the lid that came with the PIP, and you can place the PIP in there too to make it easier to remove. Which I forgot to do, but I was still able to remove easily with an extra set of hands.
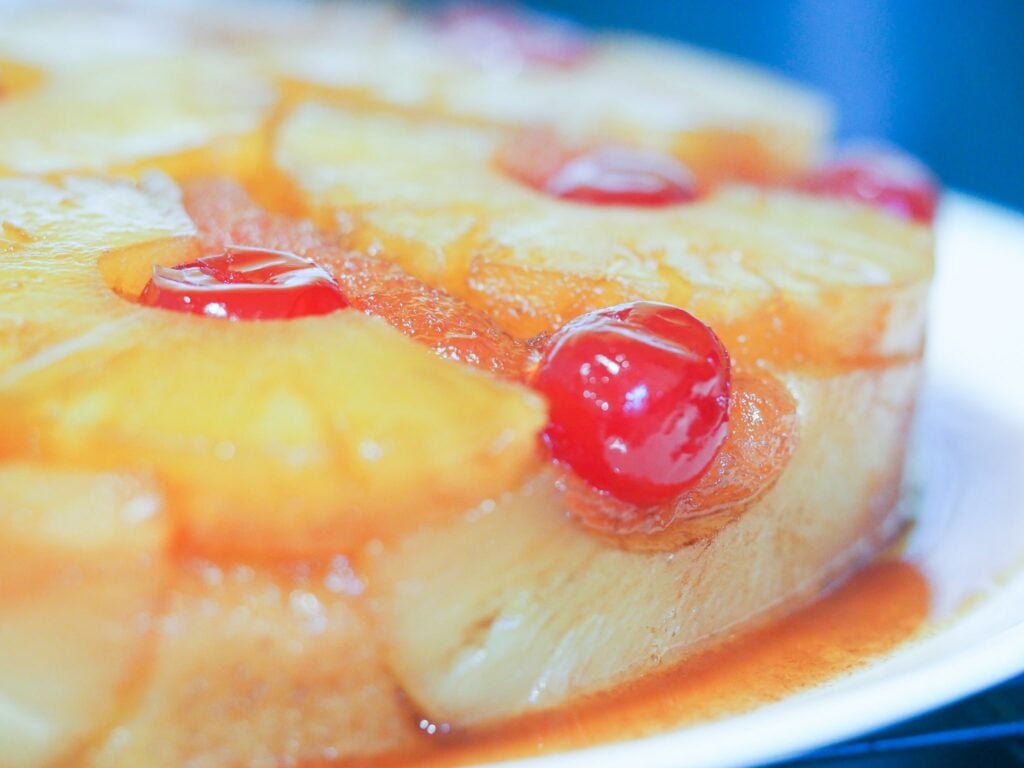
Seal the Instant Pot according to your manufacturers instructions. Cook on high pressure for 50 minutes then follow with a 20 natural pressure release. Cool on a wire rack for 10 minutes and then invert the cake onto a plate. Let cool an additional 20 minutes, and let the cake soak up the juices on the plate as much as possible.
Tips for a great cake
When letting the cake absorb the extra juices be sure to tilt the plate around every few minutes to swirl the sugary sweetness so it just doesn't collect on the sides. This will help evenly distribute it.
I used a 6-quart Instant Pot Duo for this recipe, so be sure whatever pan you use to cook this uses up as much space as possible for a larger surface area to cook the cake.
For a spiced version of this cake you can add about a half teaspoon of cinnamon, and a quarter teaspoon of nutmeg.
If you get a craving for this but don't have the cherries that's okay it can be made without them. If you don't have slices then chunked pineapple can be used.
If you enjoyed this recipe you might like Instant Pot Salisbury Steak, Instant Pot No Fail Buffalo Chicken Meatballs, or Instant Pot Golden Oreo Chocolate Chip Cheesecake!
Recipe
Instant Pot Pineapple Upside Down Cake

Ingredients
Topping Ingredients
- 18 Maraschino Cherries whole, may need more depending on number of slices
- 20 ounce pineapple slices whole, packed in 100% juice
- 3 tablespoon unsalted butter melted
- 1 tablespoon pineapple juice
- ½ cup light brown sugar
Cake Ingredients
- 1 ½ cups flour
- 2 teaspoon baking powder
- ¼ teaspoon salt
- ¼ cup unsalted butter softened
- ⅔ cup sugar
- 1 egg
- ¾ teaspoon vanilla extract 
- ⅔ cup milk
Instructions
- Melt the three tablespoons of butter. Add to this the reserved pineapple juice and brown sugar stir well to combine. Add to bottom of pot. Note I have a 6-quart Instant Pot, and used my PIP pan for this recipe. Butter the sides of the PIP pan, and pour the mixture in the bottom being sure to cover it completely.
- Place one whole pineapple slice in center of pan, and add a whole cherry to the center. Cut the remaining slices in half, and place a whole cherry in the center. Arrange around the whole piece, and add slices to the sides if desired.
- In a mixer, beat together the softened butter, and sugar. Beat in the egg and vanilla next.
- Add the flour, baking powder, and salt then to mixer along with the milk. Mix together.
- Pour the cake batter over top the pineapple slices, and spread batter as evenly as possible.
- Add the rack with the arms down to the Instant Pot with the arms folded down. Add one cup of water to the pot for cooking. Place the cover that came with the PIP on the pan, and lower into the Instant Pot.
- Seal, and cook on high pressure for 50 minutes. Follow with a 20-minute natural pressure release.
- Let cool for a few minutes, and then invert the pan to a plate. Let cool for up to ten minutes. Be sure to allow the cake to soak up the extra juices on the plate.
- Serve immediately, or store in an airtight container for up to one week.


I'm a little anxious this being my first attempt at baking anything in my IP. Are the ingredients for the topping supposed to be in the pot itself with the cake and pineapple in the inner pan? I would think having the pineapple juice/brown sugar/but mix, even with a cup of water added, would caramelize and i get a food burn message.
You are correct you won't be cooking this directly in the pot. 🙂 You will need a pot-in-pot pan or another pan to cook it on the rack inside of the pot.
I am a new IP user and would love to make your recipe. Could you please be a bit more specific on the type of pot you used. Thanks
No problem, these are the stackable cooking inserts. The exact dimensions of the pans I used are located in the recipe card. Thanks! I hope you enjoy the recipe. 🙂
Thank you for this IP Pineapple Upside Down recipe! Perhaps you should clarify the size of the spring form pan to be used or glass pan, or whatever PIP (pot in pot) will fit. In an IP-6-qt, the usual workable diameter is 17.7 cm (7") which will safely allow proper steam circulation and facilitate PIP removal once the cake is baked. Using a sling made of a folded aluminum foil strip or (pot pliers) is also required. Furthermore, when measuring the IP insert diameter, one must take into account the curve at the bottom of the IP insert perimeter. Flipping the IP insert upside-down and measuring the flat bottom part only is the correct way for obtaining a PIP’s maximum diameter, one that will fit perfectly inside the IP insert.
You're welcome, and thank you for all the great information. The measurements of the PIP are located within the recipe card. 🙂
I don't see that the pan dimensions have been corrected in the recipe card..... I assume 7"x 3" PIP. Also do not see a link to Amazon. I have a 7" stackables set that I use the bottom straight sided pan for cheesecake, so I plan to try your recipe today. Looked at a couple other bloggers' recipes and your time etc seem "right". Thank you for the recipe.😋
You're so welcome, and I'm excited for you to try the recipe. You can find the pan dimensions in step 1 of the recipe card. I hope it turned out well!
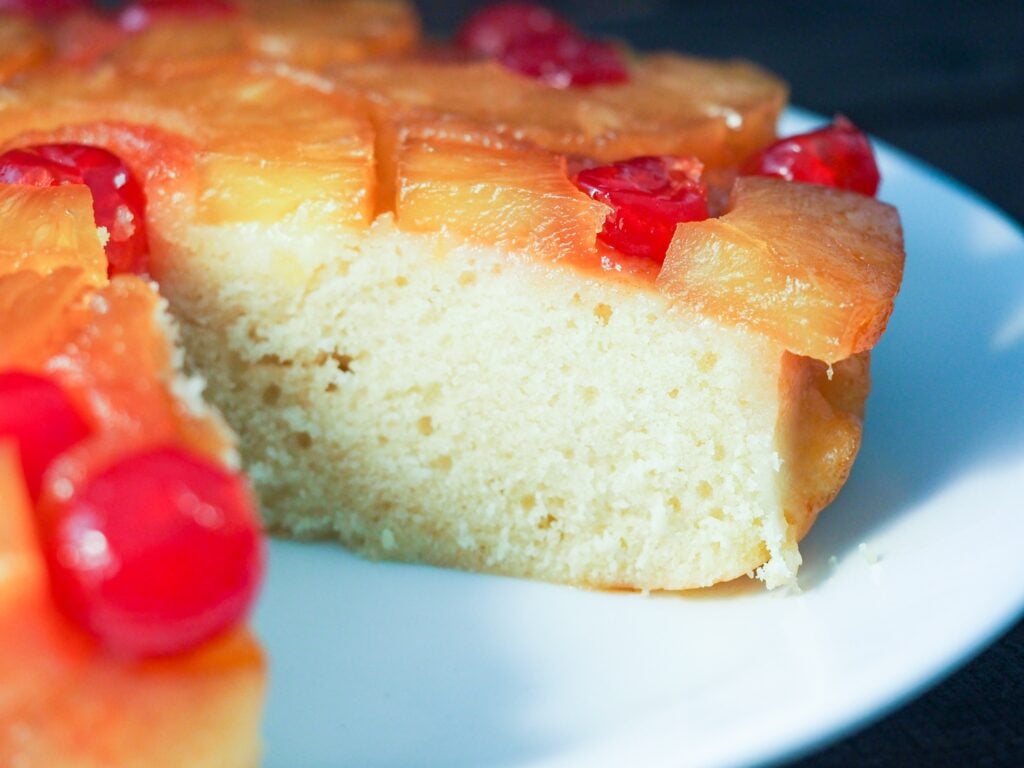
I made this today but the cake was very dense. Did I do something wrong or is it always like this. My cake pan doesn’t have a lid so I covered it with aluminum foil...
Cakes in the Instant Pot are typically more dense, but you should have still gotten a good crumb. It should not have been super dense. The foil should have been good to go for you. 🙂
Do you have a link to the site where you got your PIP size item?
Yes, the links are at the bottom of this post if you would like to purchase a PIP pan from Amazaon. 🙂
What is a PiP?
Pot-in-Pan, or the stackable cooking inserts. 😊
This looks beautiful and I cannot WAIT to try it! I have not attempted a cake in my instant pot yet with the exception of cheesecake.
Thanks! I’m so glad you’re trying it! One of our favorites. 😊
This sounds wonderful, and I'm anxious to try it. But I'm curious about one thing - why do the arms of the rack need to be folded down? It seems like it would be easier to take the PIP out if the handles were up. Thanks for sharing.
It’s not the PIP rack but he one that cane with IP. I’ll revise the directions after my husband also pointed it it out to me. 😊 Lay in the PIP rack, and then the other rack to provide a small space at the bottom. My apologies for the confusion! 😊
What if I forgot to put the brown sugar and its cooling in the IP right now? Can I add it after I take it out?
Unfortunately, I don’t think it would work out very well. However, you could try to cook the brown sugar topping ingredients then pour it on
to see how it works out.