Instant Pot Easter Eggs

Instant Pot Easter Eggs are an easy way to cook and dye eggs at the same time. Cook and dye them then have fun decorating them with the family. Spend less time getting everything ready, and more time having fun! Pair this up with some Banana Cake for dessert! Use the leftovers for some Deviled Eggs!

Ingredients & Equipment
You will need the below to make dyed Easter eggs.
Eggs - you will need eggs that are preferably a week or so old to hard boil.
Food dye - you will liquid food dye to color the eggs.
White vinegar - generic white vinegar to set the dye.
Water - for the pot, and to cover the eggs so they are submerged in the dye.
Stainless steel cups - I used 8 ounce food grade stainless steel cups to dye my eggs. You can use any other vessel that is safe for cooking inside the Instant Pot. However, I recommend stainless steel cups as there is no question they are safe since many Instant Pot accessories are made from stainless steel.

Instructions for cooking & dying the eggs
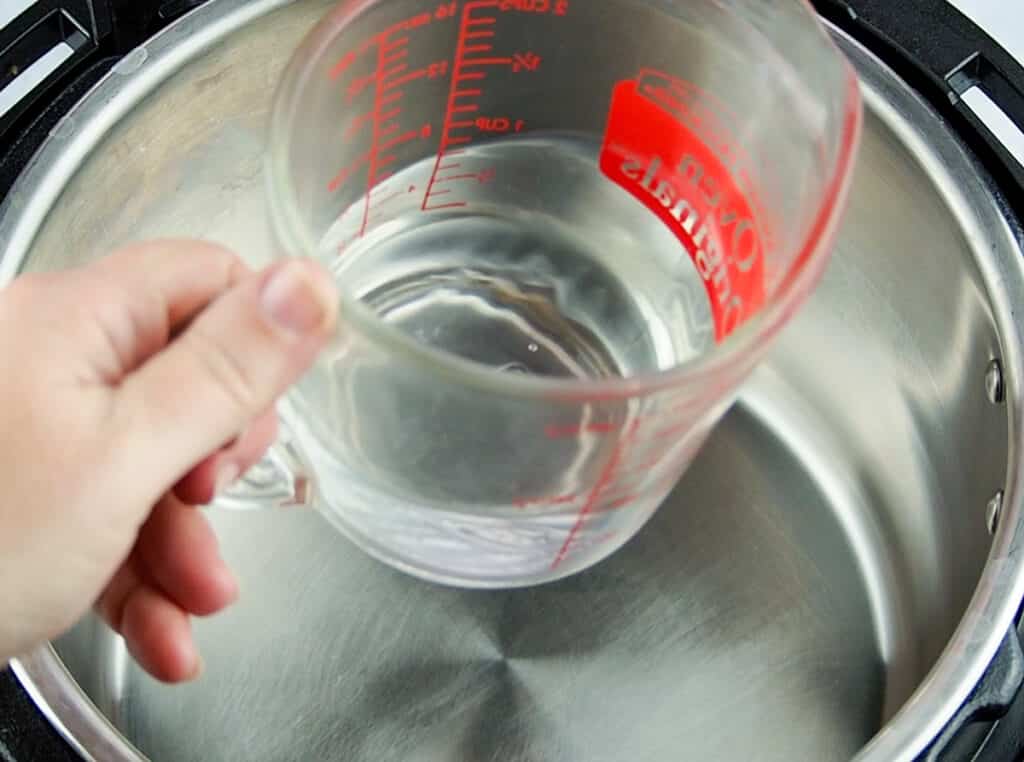
First insert the rack that came with your Instant Pot into the liner. Add the minimum amount of water required for your size pot in the liner.
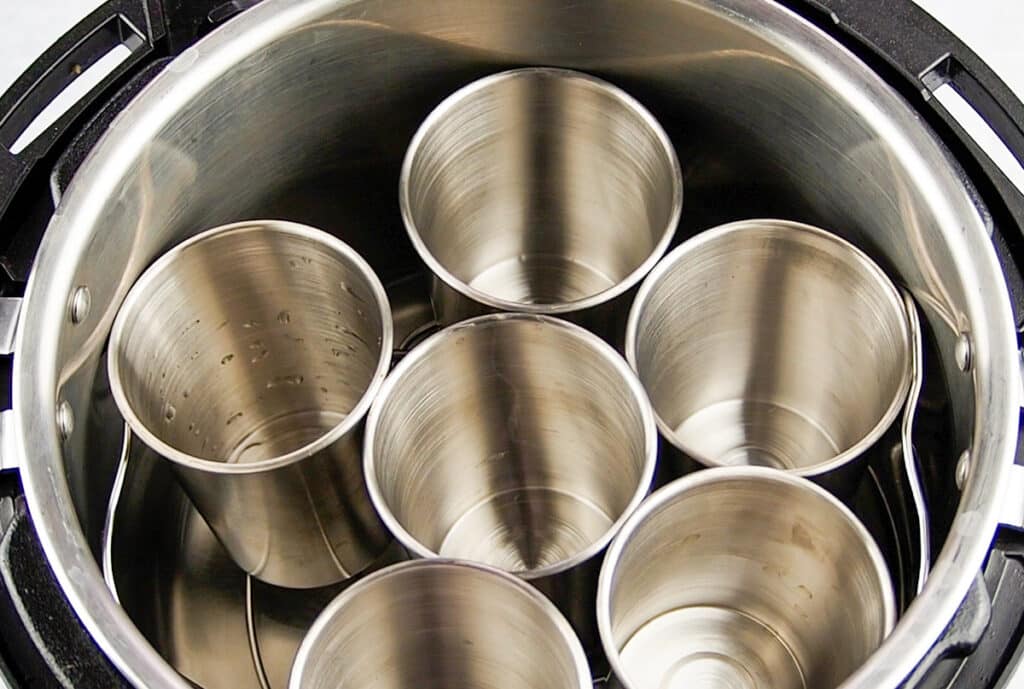
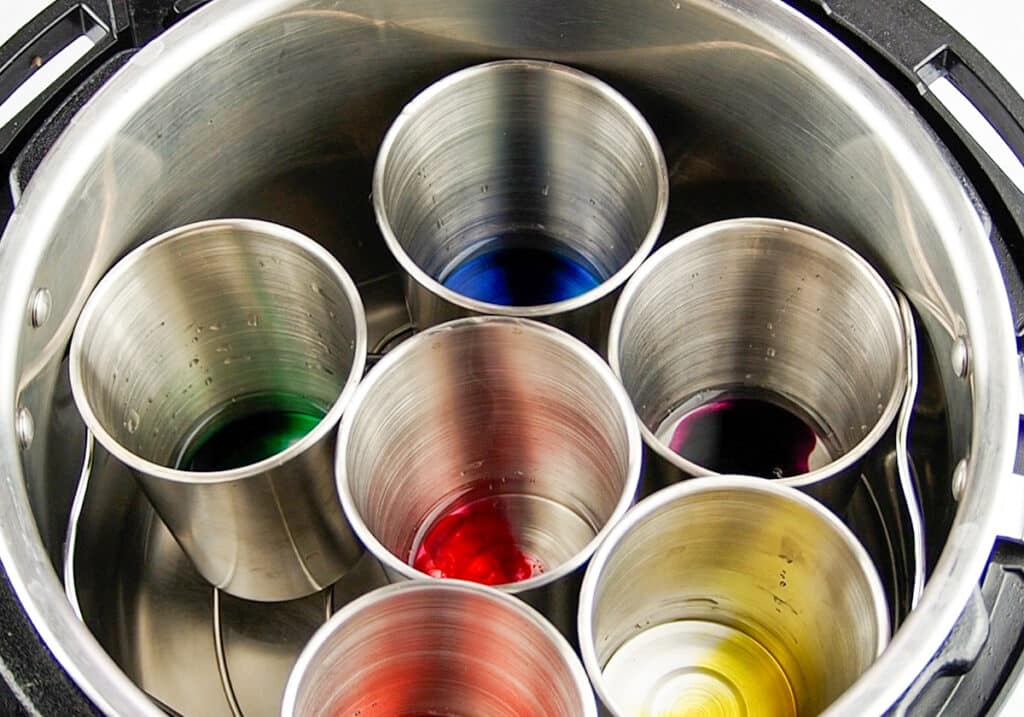
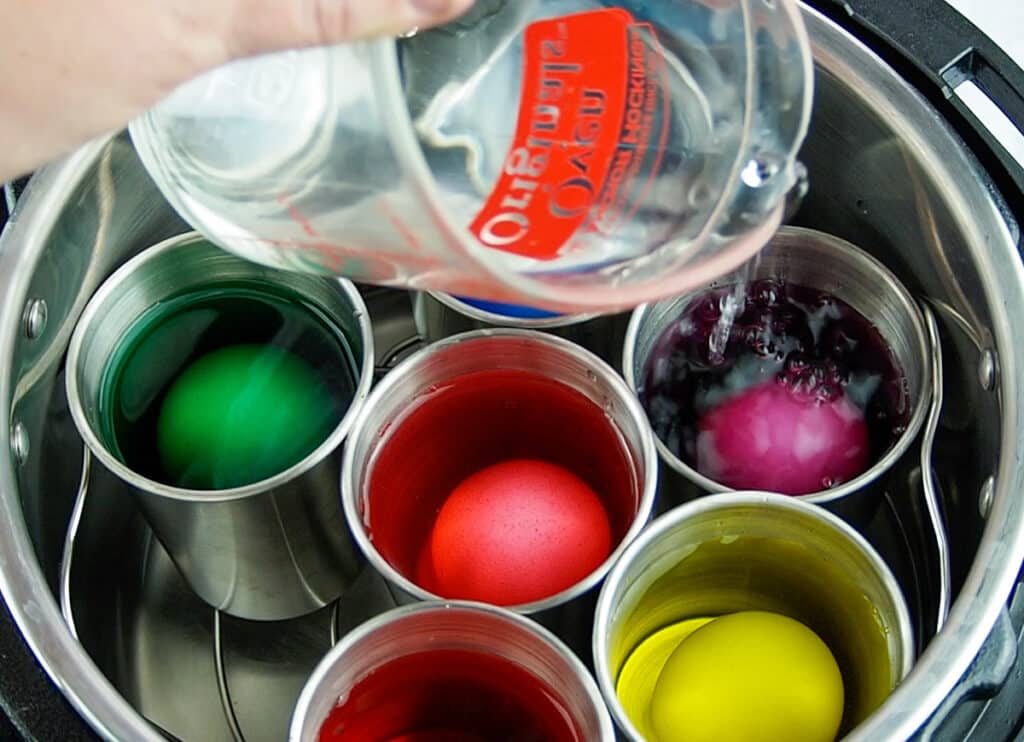
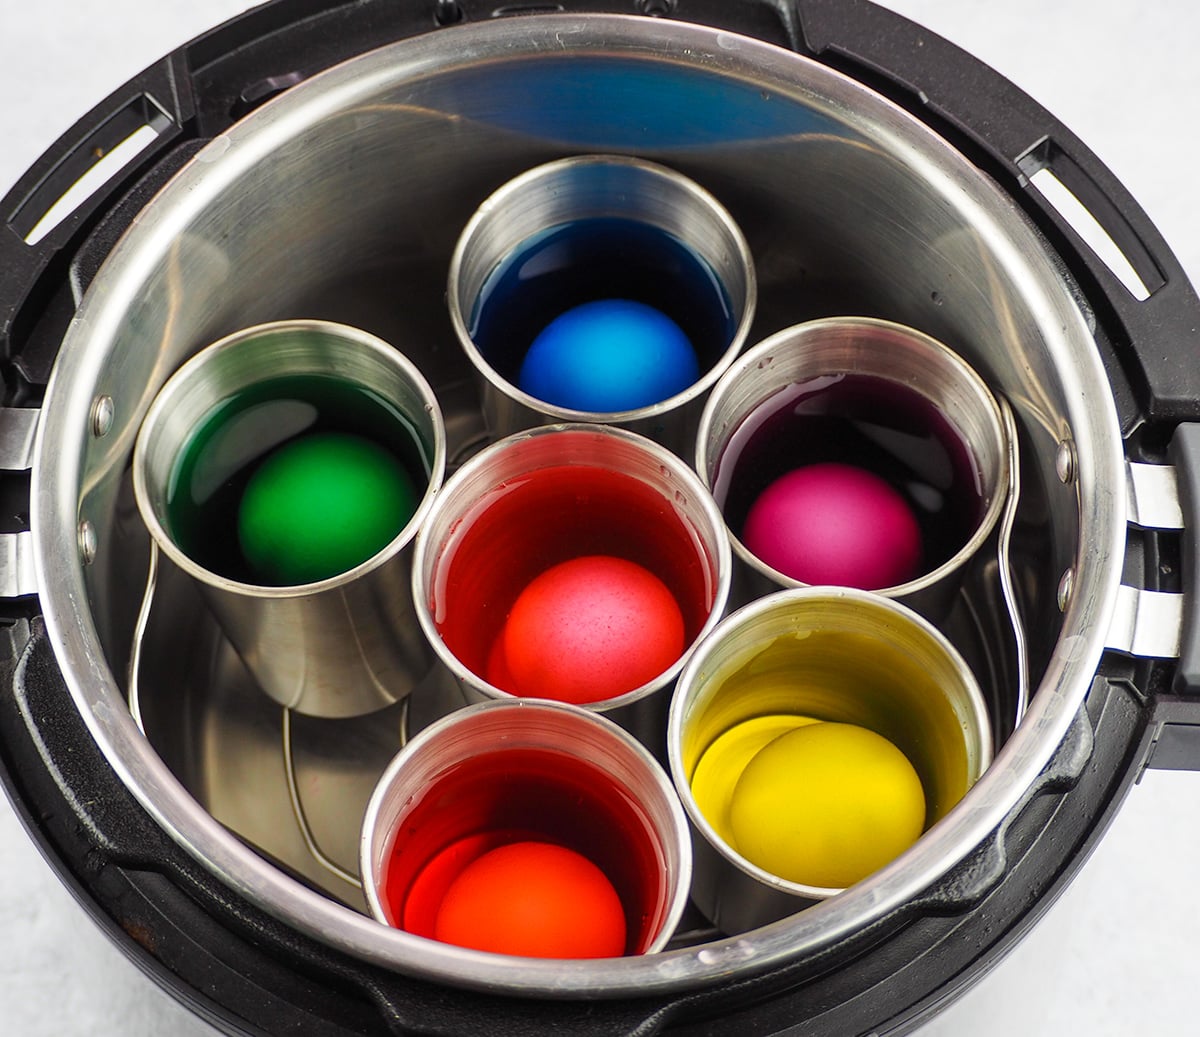
Add the stainless steel cups on top of the liner. To each cup add 2 tablespoons of vinegar, 6-7 drops of food dye, eggs, and enough water to cover the eggs.
You may want to experiment with how much dye you use with each batch you make. For example, if you are using McCormick food dye then you may want to add as much as 10-12 drops per cup. I used a concentrated food dye so I was able to use less. As you play around with the amount of dye you can go from pastel to bright hues with each batch.
I used a 6-6-6 method to make these, but you can use what works best for you and your pot. This means I cooked the eggs on high pressure (normal) for six minutes, followed by a six minute natural pressure release, and then sat them in an ice bath for six minutes prior to drying.


Can I reuse the dyed water?
Absolutely! Once you finish your first batch, add water back to the bottom of the liner, and allow the Instant Pot to cool for a few minutes. Add in six more eggs, add additional dye if necessary, and make sure there is still enough water to cover the eggs in the cups. Rinse and repeat using the 6-6-6 method! 😉
If you enjoyed this you might like Instant Pot Omelette Bites or Instant Pot French Toast Bites!
Recipe
Instant Pot Easter Eggs

Ingredients
- 6 eggs
- 12 tablespoon white vinegar
- food dye
- water for inner liner and to cover eggs in cups
- stainless steel cups
Instructions
- Add rack and minimum amount of water for cooking to Instant Pot liner. I use a 6-quart so I used one cup of water.
- Place stainless steel cups into the pot on top of the rack.
- Add 2 tablespoons of vinegar to each cup.
- Add 6-7 drops of food dye to each cup or up to 10-12 drops.
- Top each cup off with enough water to color the eggs.
- Cook using the 6-6-6 method. This means 6 minutes at high pressure, a 6 minute NPR, and a 6-minute ice water bath.
- Decorate as needed. Serve immediately, or store in the refrigerator for up to one week.


